Review: Paperless Post
I have to admit that, despite being a stationery addict, I am really bad when it comes to sending greetings cards. Even though I actually hoard my old birthday and Christmas cards from loved ones I do wonder if other people really care that much about receiving a bit of paper in the post.
There’s also the environmental repercussions of cutting down trees to make cards which might sit on a shelf for a few days and then just get thrown away, so when I was came across online cards from Paperless Post I was interested to see if it might suit me better.
Millions of people use Paperless Post’s elegant technologies and expressive designs to celebrate their most important life occasions with the aim of connecting people despite distance and circumstance.
Paperless Post boasts a huge array of design templates available for cards, invitations and flyers including ranges from designers such as Kate Spade, Anthropologie and Liberty.
Although I used to cringe when watching ‘Don’t Tell The Bride’ when the groom-to-be sent out invitations via Facebook or email, with features such as being able to upload a CSV contacts list and export guest a list, collecting RSVPs and tracking email opens and bounces it makes sending an invitation for an event simple and fuss-free.
The Paperless Post system is based on virtual coins which you can buy to top up your account. Coins can be used to purchase online cards, add premium options like envelope liners and logos as well as there being a charge per card sent. Payment options start at 25 Coins for £8.00 (£0.32 each) and extend to 1000 coins for £90.00 (£0.09 each), so it’s worthwhile grabbing a bigger ‘pack’ if you want to make lots of customisation or send many e-cards.
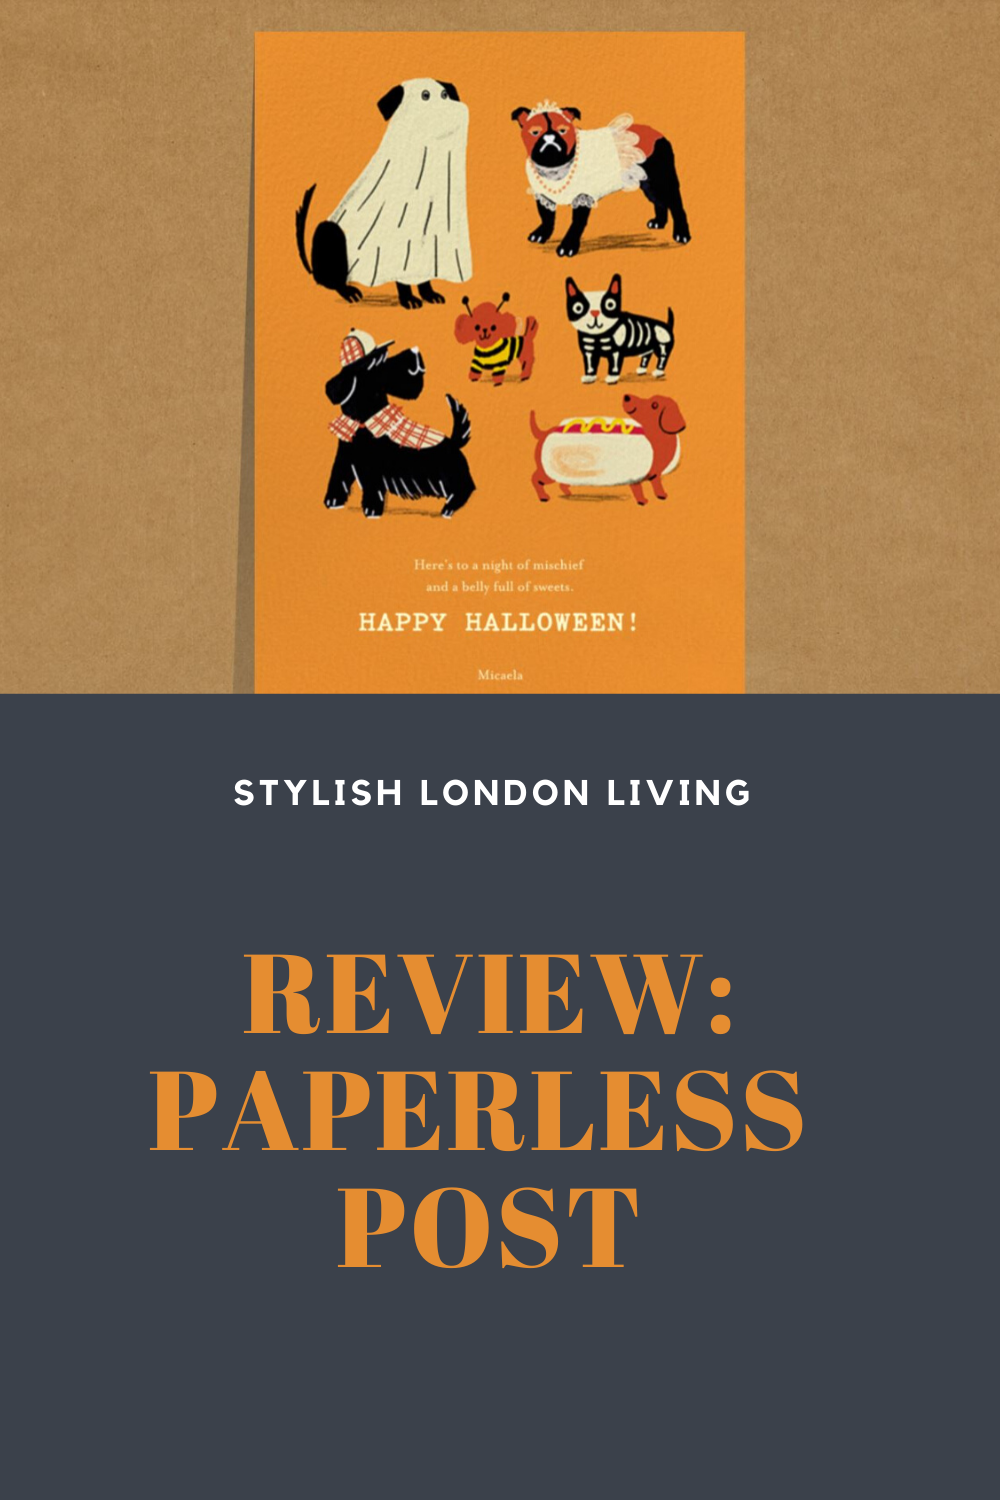
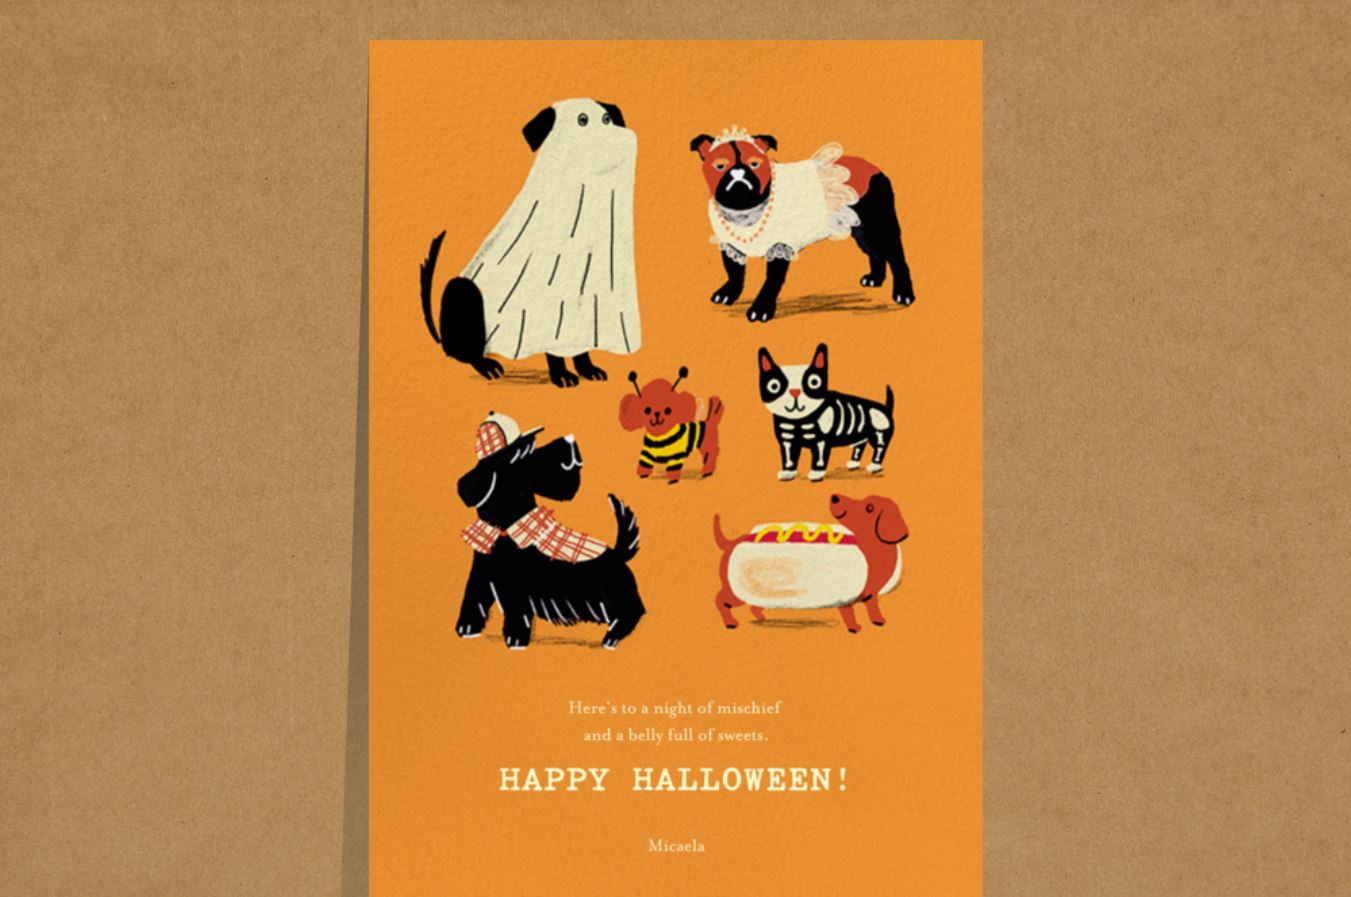
Although I didn’t have an event in the works I decided to test out Paperless Post’s product by making a spooktacular Halloween Card. The process starts with browsing through the templates provided and find the one that sparks your imagination and deciding how you’d like to customise the template. Seeing as I am a mad dog lady I just loved this doggie themed card.
There are several areas of possible customisation: text, the motif and logo and the backdrop. I decided not to fiddle with the design too much because I really liked how it looked, but I did add my name to the bottom of the card!
After tweaking the card I then moved onto personalising the envelope. Again, I didn’t make too many changes because I loved the black envelope/ orange stripe combination which so suits a Halloween card. However, you can make change to the liner, envelope and backdrop should you wish to.
I did decide to add a Halloween themed stamp; a spooky black cat to the top right of the envelope, along with a simple Paperless Post postmark for ‘authenticity!’ – why not?
So once you have designed your card and envelope the next stage is to add your recipients and select your RSVP options should you wish to include them for an invitation. Mine was a simple greetings card, so I chose to allow my recipients the option of sending a short response.
Adding recipients couldn’t be easier, there are several options: simply add them one by one by ‘hand’, paste a list or upload a CSV file. I decided to test my Halloween card out on my mum so just added her name and email address.
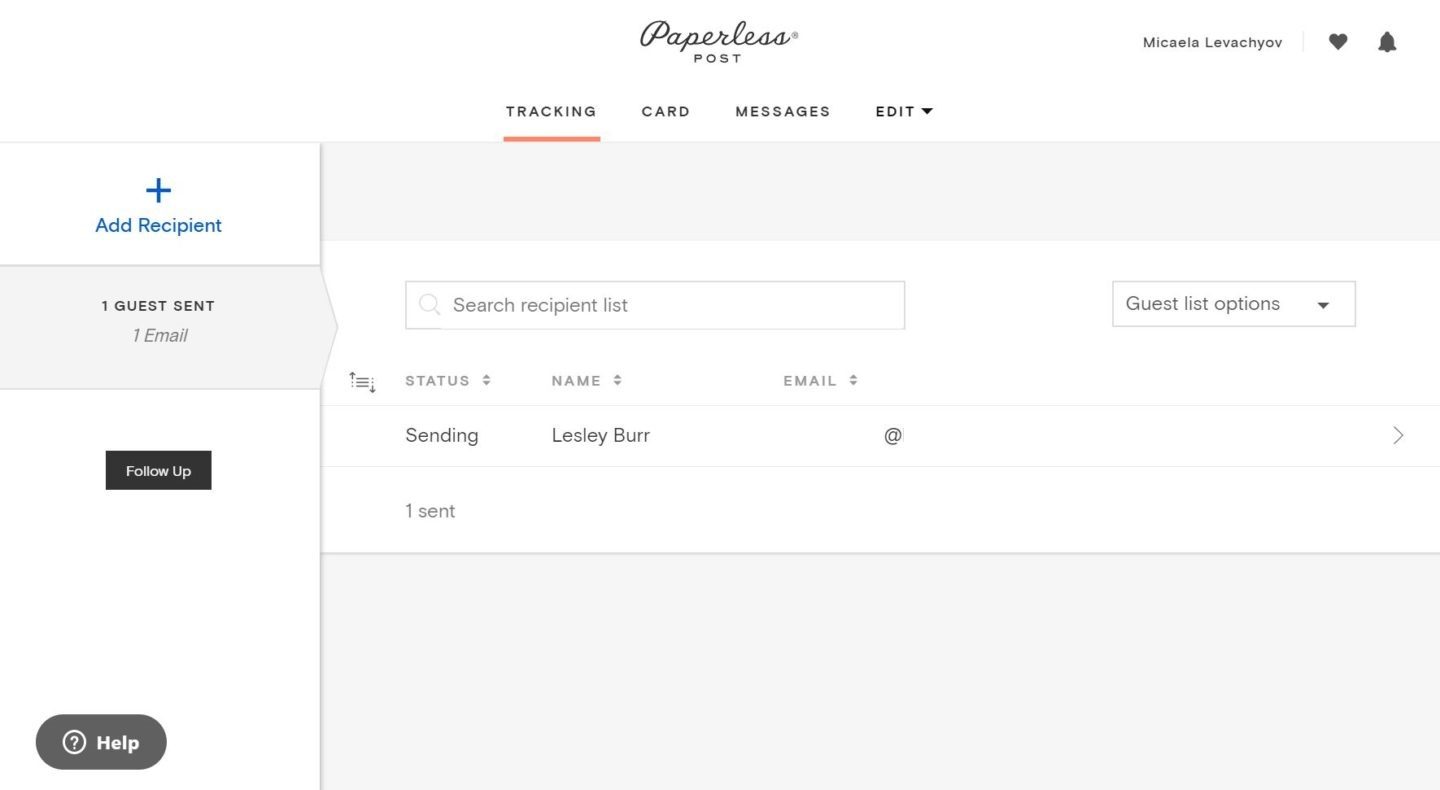
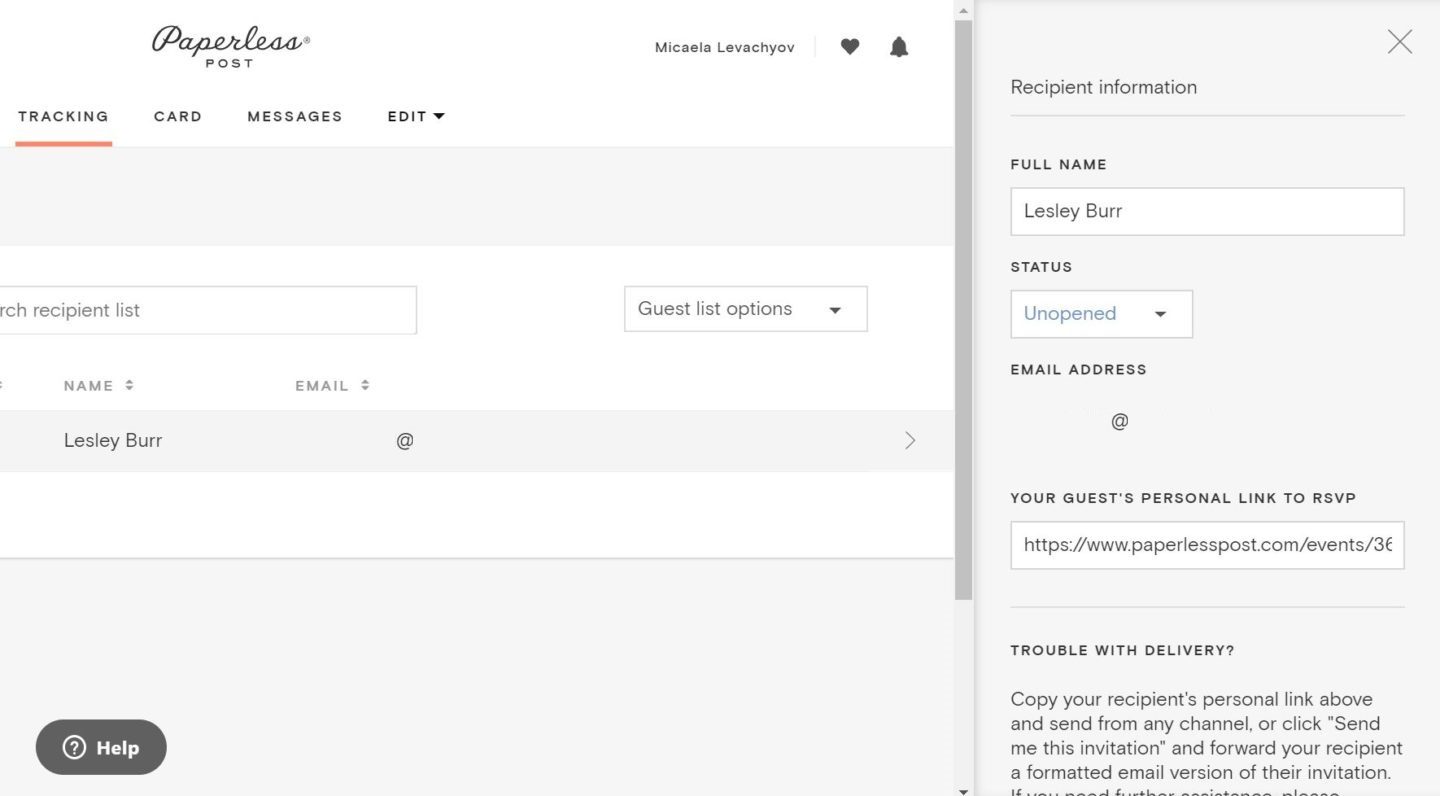
Once I sent the card it was easy to see the status, of course this remained unopened until my mum saw her card! This is a great feature, especially if you’re sending invitations, as you can see who has seen the card and who hasn’t.
I found the whole process very simple and intuitive with an easy step by step journey from a template through to a personalised finished product which is fast to send out to friends and family for any occasion.
I can’t wait to design Christmas cards and send them out electronically to surprise friends and family whom I don’t normally send a physical Christmas Card out to.
I award Paperless Post 5 out of 5 stars for offering a product which encourages communication and connection through a modern, quality alternative to pen and paper.

