The Big Three for End of Tenancy Cleaning

There are three places in any rental property – or any property that’s being sold – that are a bit of an issue when it comes to moving out cleaning. These are the ones that cause the most disputes between landlords and tenants, and are the ones that are often not cleaned adequately or are completely forgotten about.
The Big Three for end of tenancy cleaning are bathrooms (the whole room and all that’s in it), the oven (usually the inside) and any extractor fans (either in the bathroom or in the kitchen).
The good news for tenants and landlords alike is that all of these are on the checklists used by professional cleaning companies like Anyclean London so if you get a team of proper moving out cleaning experts in to do the job, you can rest assured that the job of cleaning the Big Three will be done properly. And if you’re in Mckinney Texas, The Cleaning Force company can help you out if you need professional help.
Of course, you may choose to do your own moving out cleaning (or end of tenancy cleaning, if you’re the landlord). In this case, you’ll have to make sure that the Big Three get dealt with properly… along with the rest of the house, of course.
These principles apply to office and commercial cleaning services too. If this isn’t something your business has time for, then it may be worth consulting with a team like SMC Premier to discuss bespoke, managed solutions for the cleans you require.
Because the Big Three cause such problems for renters and for landlords, let’s take a look at how to clean them.
Extractor Fans
Extractor fans in the bathroom are fairly straightforward. The most they collect is dust and (if they haven’t been used properly) mould. Cleaning them is a matter of taking off the front cover, if you can, and giving as much as you can reach a good scrub with an old toothbrush dipped in some warm soapy water plus some disinfectant if you like.
If you can’t take the extractor fan in the bathroom to pieces, then just clean as much as you can reach with that old toothbrush. If the bathroom is dry (run the extractor fan itself to get it this way!) then you can use the vacuum cleaner to extract dust from inside it as well. Just make sure that the fan is switched off before you start cleaning it.
The extractor fan in the kitchen above the range is another story. These tend to collect grease. In fact, that’s part of their job. This means that when the time comes to clean them (which doesn’t often happen and most people leave it until moving out cleaning time), they are somewhat on the disgusting side. Don’t panic. It is possible to clean the extractor fan and get it grease free, but it will take a bit of time, patience and a touch of know-how.
Start by switching it off at the wall to avoid any nasty accidents – water and electricity do not mix. In fact, you should do this before cleaning the oven as well (more on that below). Then get a bucket and a sink of warm water ready with a generous dollop of your favourite dishwashing liquid.
After that, take off as much as you can of the hood (photograph it as you go so you remember how to put it back together again). Any detachable parts can be washed by hand like dishes in the warm soapy water, which will do a great job of de-greasing it.
For the bits that can’t be taken down, you’re going to have to go to it. Reach in with a rag or paper towel that’s been moistened in warm water and detergent, and give the fan blades and anything else you can see a good old rub and wipe down. This may take several attempts, depending on how much grease is in there.
You may need to clean or change the filter. There are quite a few types out there. Some will need to be plain old replaced but others can be washed in warm water and detergent – but get a fresh lot; don’t use the stuff you washed the detachable parts in.
When you’re done, dry everything thoroughly, then put it all back together again.
Ovens
If you throw your hands up in despair and call in a professional cleaning service just to clean the oven, you’re not alone. Cleaning the inside of the oven is one of the tougher jobs out there and is frequently listed on the “most hated” lists.
Some ovens are “self-cleaning”. This involves heating up the interior to a high temperature and burning all the muck off. It works but it could start a fire if the job hasn’t been done for too long. If you’ve got an Aga or an old-school coal range, this type of “cleaning” happens automatically. With electric or gas ovens, then you have to tell the oven to do it – as long as it’s safe.
If you insist on tackling the job yourself – you masochist, you – then you can try using one of those harsh alkaline sprays or you can use a chemical-free combination of baking soda and hot water. Either way, it’s going to be a tough job and will require a LOT of elbow grease. And time.
If you go for the chemical spray option, you’ll need to make sure that you have good ventilation and a very sturdy pair of rubber gloves, and possibly a mask as well (if you can lay your hands on one, which is a bit harder during these Covid-19 days). Follow the directions on the can – and if you can go for the “overnight” option where you spray the stuff in then leave it in a cold oven overnight, then this creates less fumes than the faster option involving a hot oven.
The other option is to use baking soda. You’ll need to apply a paste to the inside of the oven (take the racks out first) and leave it to sit. Yes, this will form a crust. The crust will wipe off with a damp rag or twenty, bringing the dirt with it. If the crusts of dry baking soda are a bit stubborn, then squirt them with a bit of vinegar. The racks are treated separately – with baking soda again – and you can use a bit of steel wool to get them nice and shiny.
You can also loosen some of the gunk with steam before applying either baking soda or the chemical sprays. Get a metal pan and put some boiling water in it. Shove it in and close the door, then turn the oven on for about 10 minutes. Leave the door closed for half an hour to let the steam work. Then reach in and wipe out as much crud as you can – quite a lot will come out this way.
Bathrooms
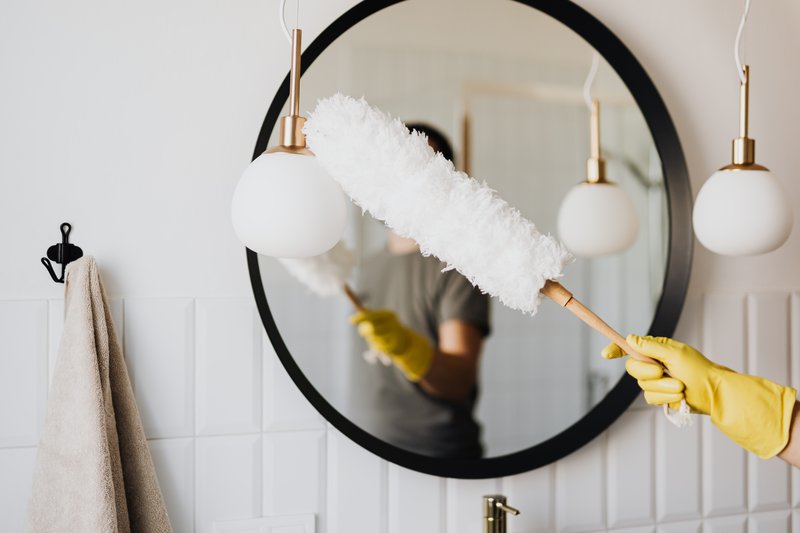
The trouble with bathrooms is that they have a lot of areas that need more cleaning than you expect. You’ll need to make sure that all of these areas are free from mould, limescale and soap scum – or all three, in some cases. At least a good general-purpose bathroom cleaning spray or your trusty baking soda will be able to clean them!
- glass shower door
- bathtub/shower sides and bottom
- soap dishes
- cupboards, shelves and drawers
- towel rails
- grout in between tiling
- mirrors
- walls, especially in corners, which often have a lot more gunge on them than you expect
- ceilings
- extractor fans (see above)
- floors
- toilet – inside and out (don’t forget to go behind the bowl, in the little arch under the U-bend and inside the tank)
- louvre windows and other windows
- windowsills
- shower heads
- taps
- any visible pipes
In the case of shower curtains made from plastic fabric, these can be washed on a delicate cold cycle in your washing machine then hung back up to dry, spread out full to speed the drying process. Don’t iron them, for obvious reasons; wrinkles from washing will ease out naturally.


